Pumpkin Pie with Fresh Pumpkin
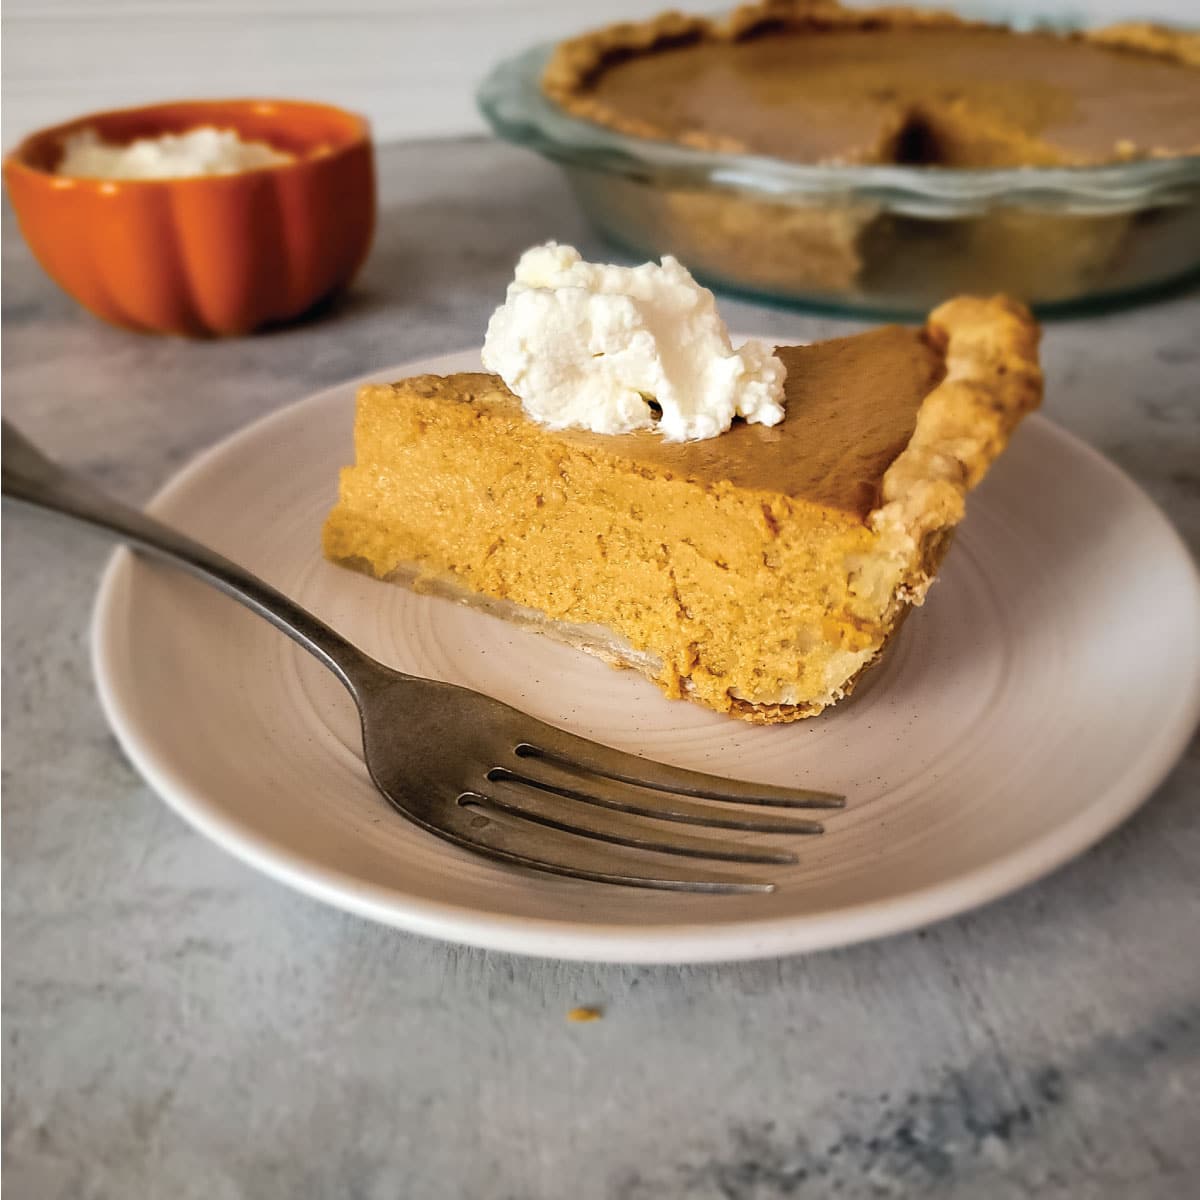
Pumpkin pie with fresh pumpkin is easy to make and has an amazing flavor! It is the perfect dessert to bring the table on the holidays and will impress your guests.
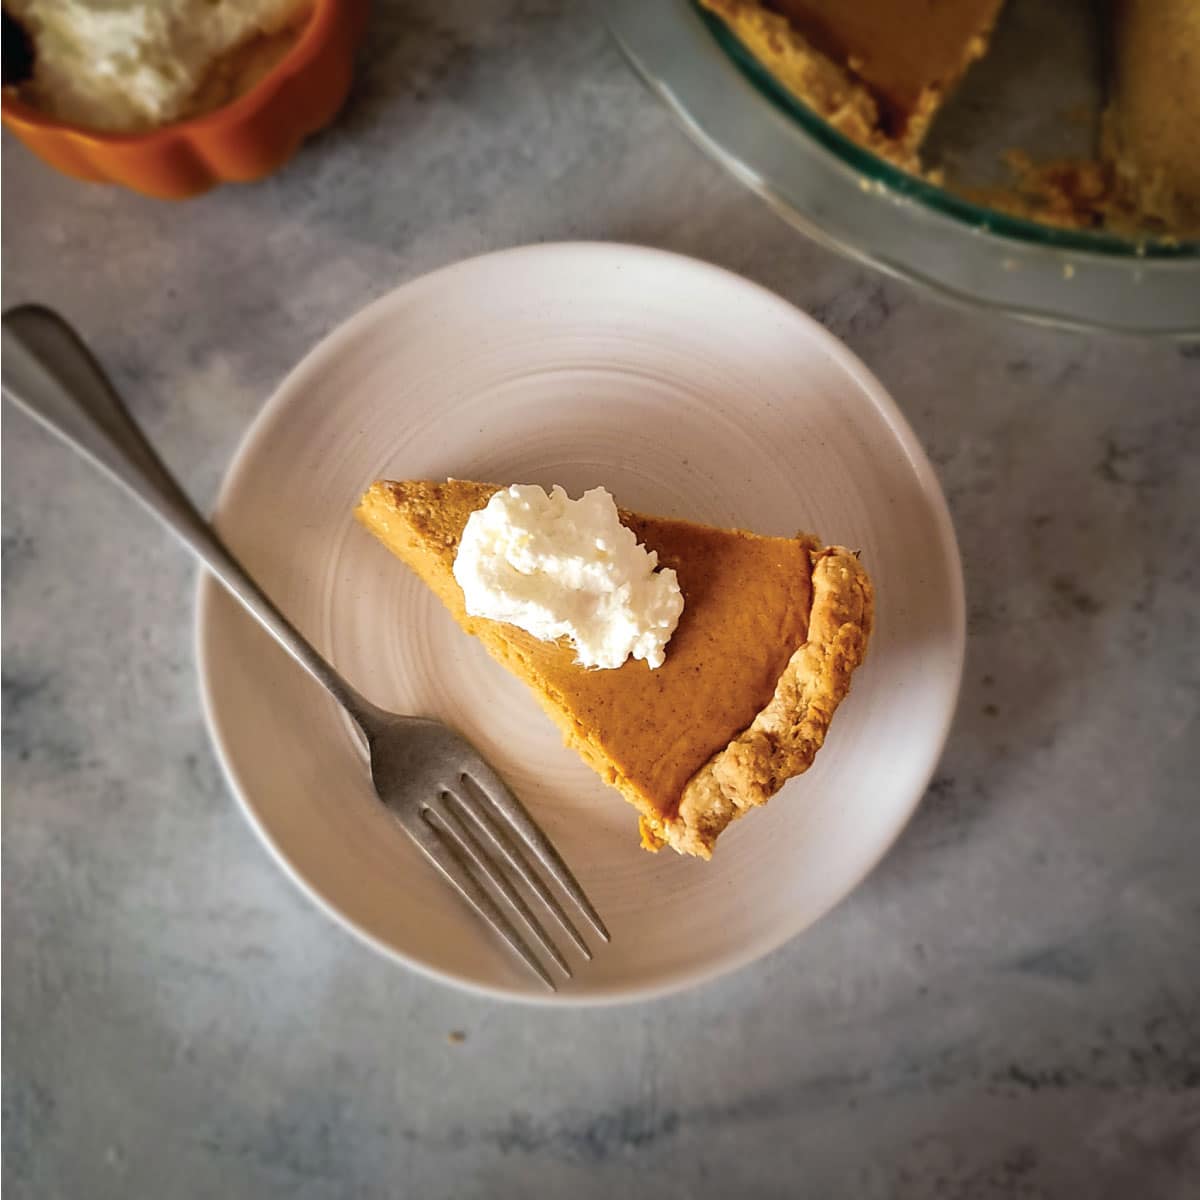
There are a couple desserts we have to have a couple times throughout the fall, pumpkin pie and apple pie! They are the perfect dessert for a fall day and a classic we have every year on Thanksgiving.
We love dessert so there are many others we enjoy, but those two are the classics that we just cannot go without each year.
We use fresh pumpkin for our pie instead of canned because the flavor fresh puree adds is just amazing compared to canned. And it really isn’t hard to make it from fresh either.
We use affiliate links on our site. This post may contain affiliate links and we may earn a commission on qualifying purchases. Please see our affiliate disclosure for more details.
Ingredients
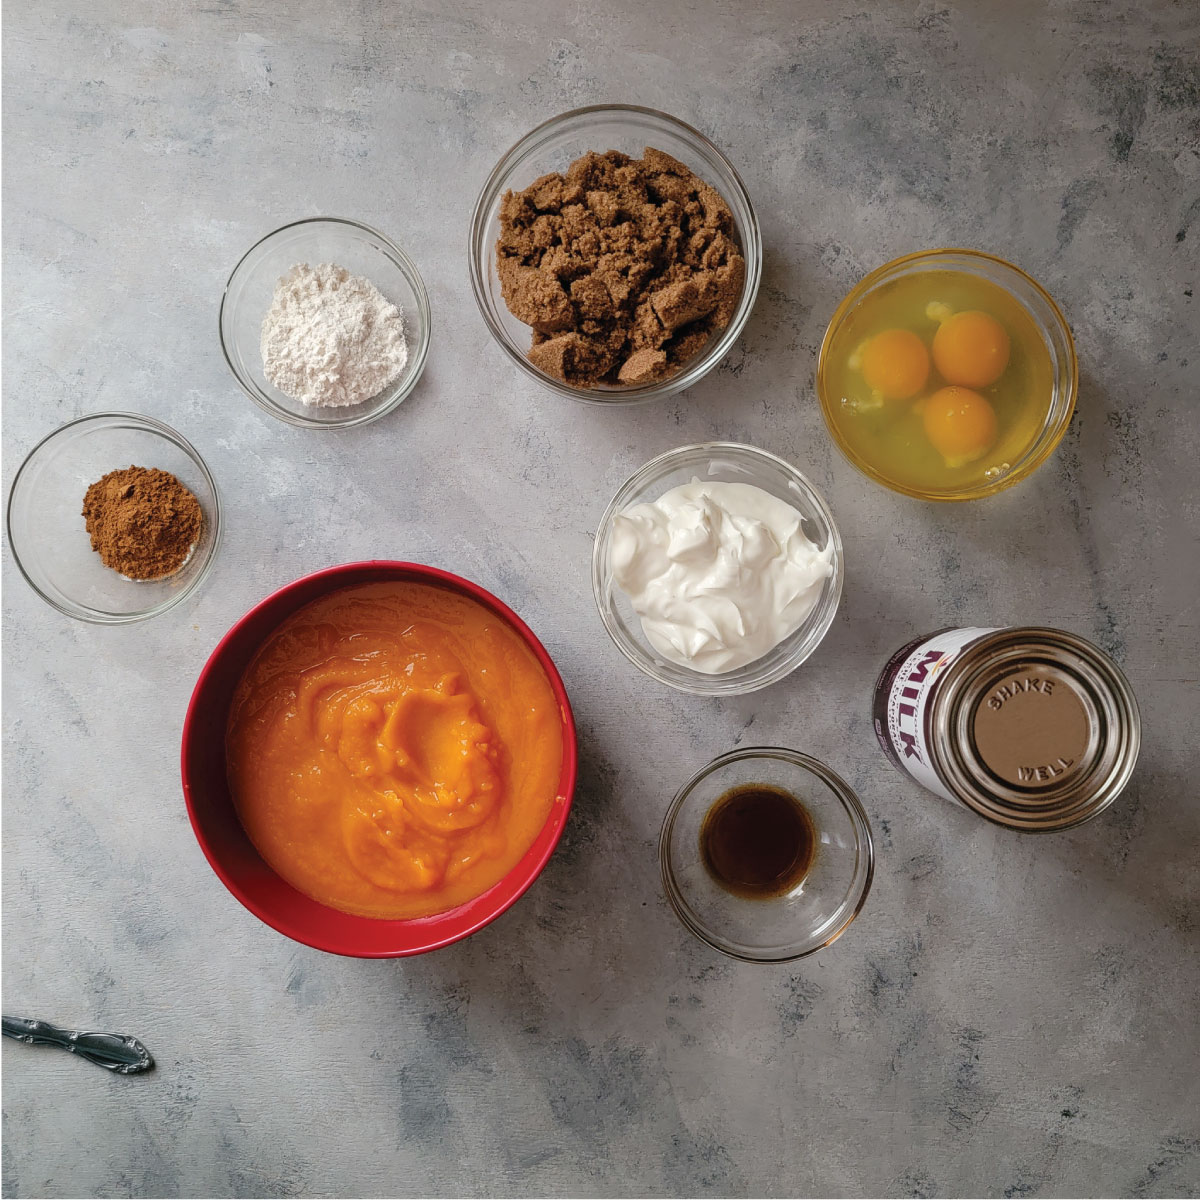
Pie crust – Use your favorite for a 9 and a half inch pie plate. We love this pumpkin pie crust, but graham crackers make a great crust as well! Please note that pumpkin pie with fresh pumpkin makes a slightly larger pie requiring a 9.5 inch pie dish, not a 9 inch when deciding your crust.
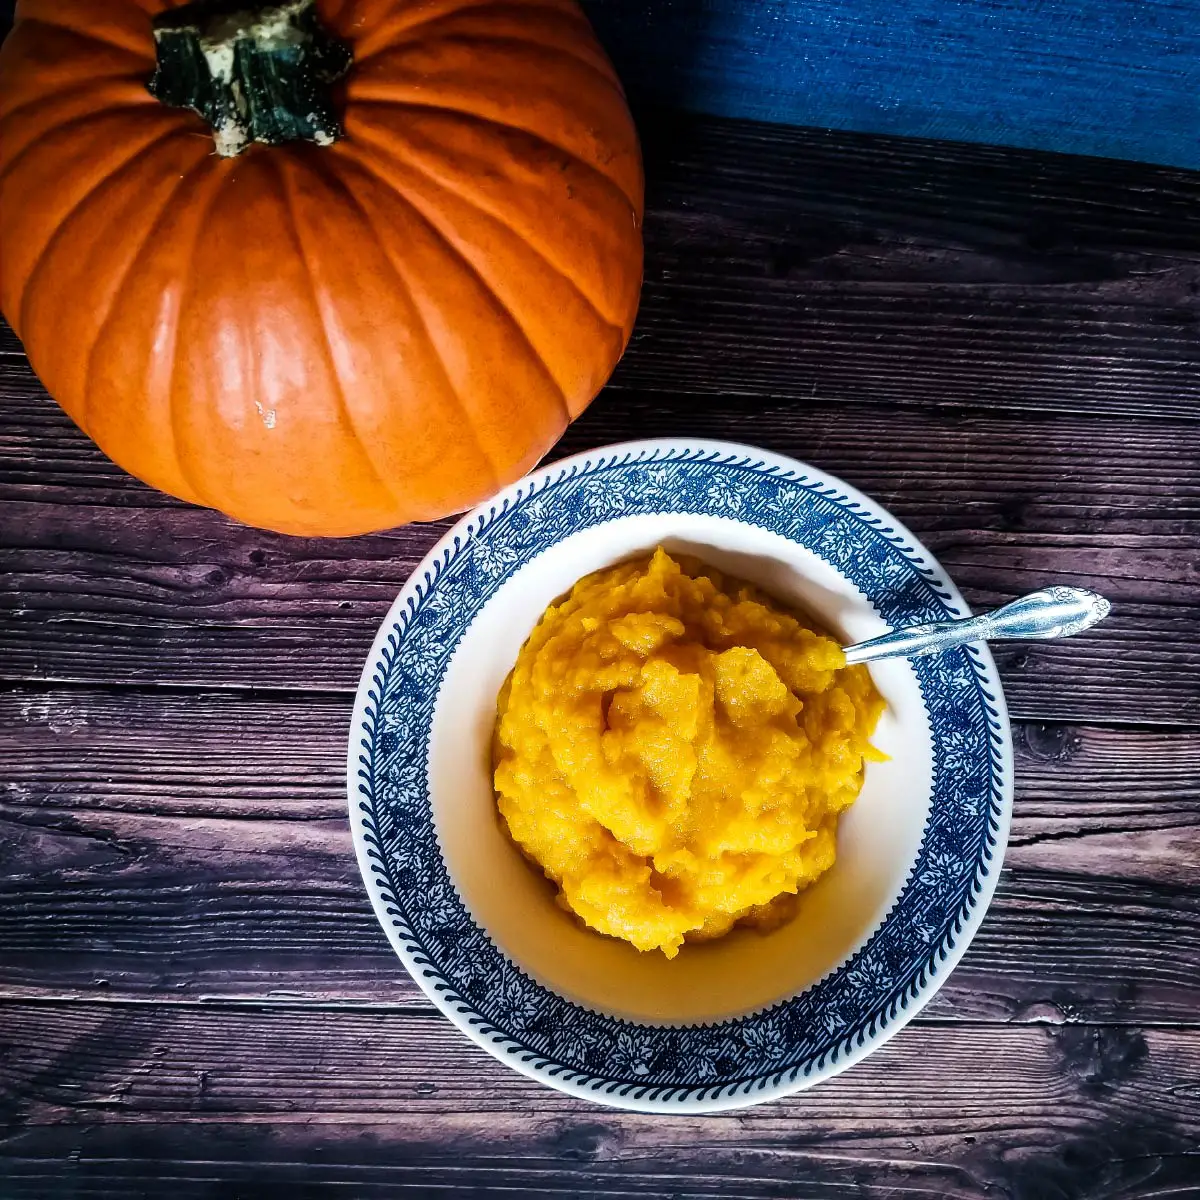
Pumpkin puree – See below for how to cook pumpkin if you have never cooked it before. There are easy instructions for this!
Vanilla extract – No recommended substitutions.
Evaporated milk – We have not tested this with anything but evaporated milk.
Yogurt – We have made this with Greek plain yogurt and we also tried it with sour cream. Both are great options and will make a delicious pie, use either one!
Eggs – No recommended substitutions.
Brown sugar – We prefer dark brown sugar, but you can use light brown sugar in it’s place.
Flour – We use all purpose, but you can substitute it for a gluten free option. You are using it to slightly thicken since fresh pumpkin puree is a thinner consistency then canned.
Pumpkin pie spice – Can substitute with homemade. A Couple Cooks has the perfect substitutions for pumpkin pie spice based on what spices you have on hand.
What is the best pumpkin for pie?
Up until this year I would have answered this question with a sugar pumpkin is best for pumpkin pie with fresh pumpkin. They go by sugar, sugar pie pumpkin or even just pie pumpkin. Different farm stands and supermarkets name them differently.
But this year I have discovered something called a cheese pumpkin and wow it is amazing in pie! They do not always have them in the store, but your local farm stand might have them.
I promise they don’t taste like cheese, I even asked this question before buying it! It is called a cheese pumpkin due to it’s shape. It is a lighter color, more like a tan or beige. But it’s shape is like a cheese wheel which is how it got it’s name!
I almost missed this gem because I thought it was an odd squash. I asked the farmer what it was and she told me it was a pumpkin and the only one she uses for pie – oh total game changer here!
It has a deeper orange color when cooked and the flavor is amazing! I just wish I bought more to freeze.
How do I cook the pumpkin for pie?
Of course opening a can is easier, but making your pumpkin pie with fresh pumpkin puree is definitely worth the effort! You will notice a difference in taste, texture and color.
There are a couple ways to cook down a pumpkin, the easiest being in the Instant Pot. If you have an Instant Pot or plan on getting one, I show you how easy it is to cook here – how to cook a pumpkin in the Instant Pot. Seriously the easiest pumpkin puree you have ever made.
No Instant Pot? No worries! You can bake it as well.
Preheat – Preheat your oven to 350 degrees Fahrenheit.
Prep the pumpkin – Using a sharp knife and working on a sturdy surface like a countertop, cut the pumpkin in half. Scoop out the seeds and place the pumpkin halves cut side down on a baking sheet. I recommend using foil or parchment paper on the baking sheet for less mess. Using the knife pierce a few small slits into each half.
Bake – Bake for about 45-50 minutes and check to see if you can easily put a fork through it, if not continue baking. Pumpkins are different sizes and thickness for the flesh so cook times will vary. If baking a cheese pumpkin, it may take a little longer but still check it at the 45 minute mark.
Making the puree – Once the pumpkin is done, allow to cool enough to handle easily. You can make the puree while it’s warm or let it cool all the way. Scoop the pumpkin out of the skin and use a food processor to puree it until it is smooth.
Storing extra – I cook down a lot of pumpkins to have for a few months. Pumpkin puree can be stored in the freezer in air tight containers. We usually use freezer bags here and push out any extra air from the bag.
Tips for making pumpkin pie from scratch
It is an easy pie to make once you have your puree made, but there are a couple tips that will help you make it perfect!
The crust
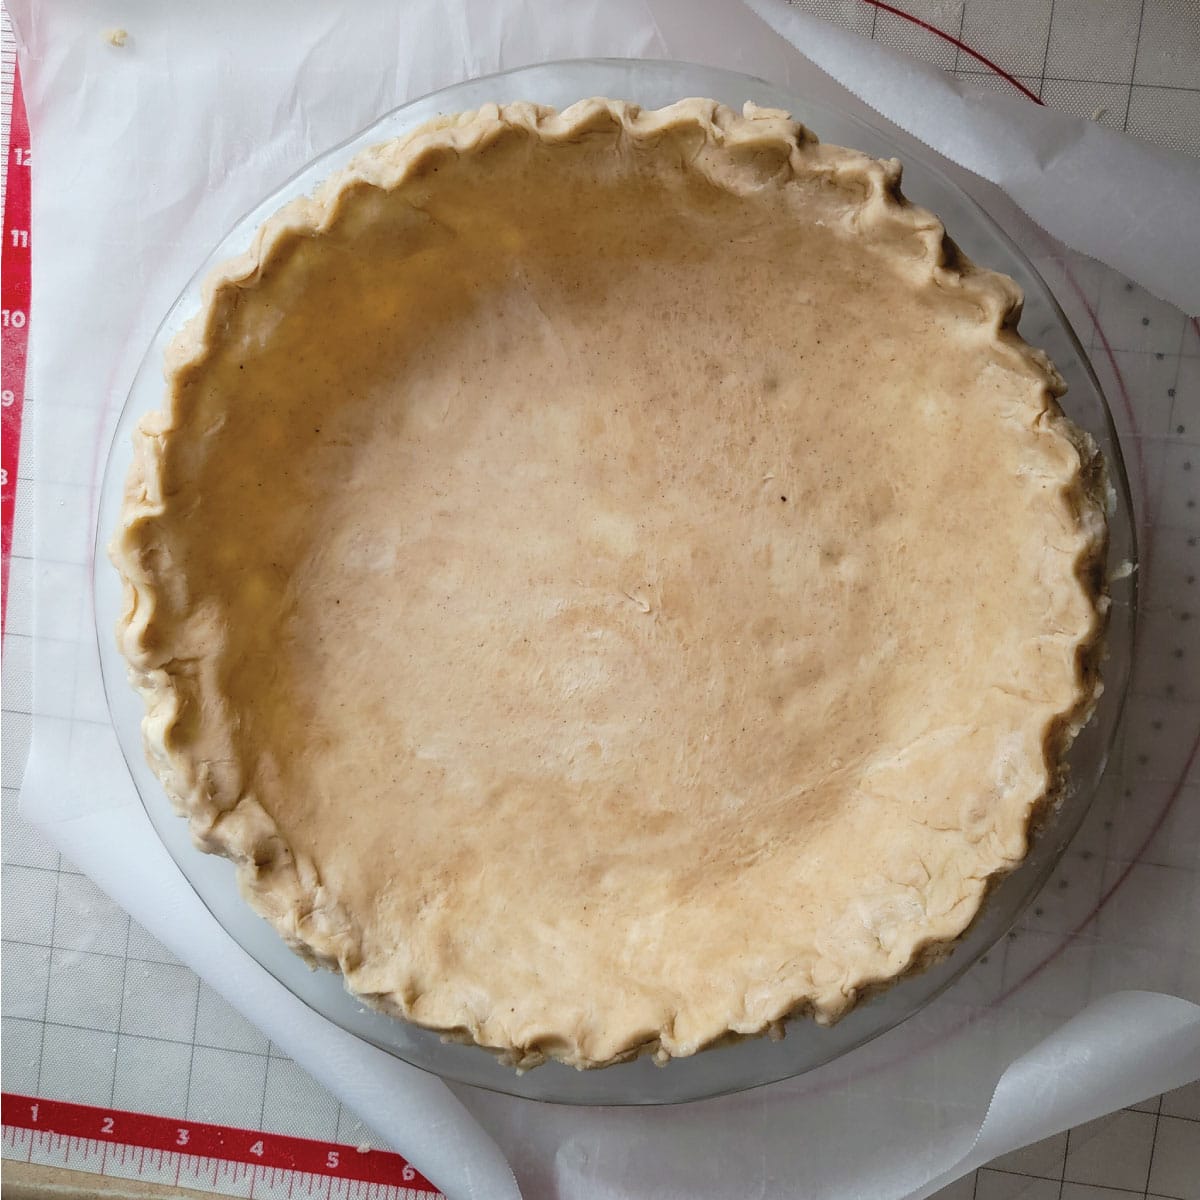
There are many options for a crust when making pumpkin pie. It goes well with a pastry like crust, a graham cracker crust or even a crust made with Nilla wafers!
You will need to use a 9 and a half inch pie plate for this pie. A 9 inch pie plate is just a little bit too small and you run the risk of it overflowing. Just be sure the crust you choose will fit in the pie dish! We use the pie crust we made for pumpkin pie because it is perfect for a bottom crust only pie and fits into the pie dish.
To blind bake or not to blind bake. To blind bake is to prebake the crust. We have made it both ways and it is something that is more of a personal preference. You can make the pie either way! We do not bake the graham cracker crust first, but we do often blind bake the pastry crust when we use one. Sally’s Baking Addiction has a great post about how to blind bake pie crust.
Blind baking gives the crust more of a flaky and crisper texture.
Not blind baking makes the crust softer on the bottom with the moisture from the pie making it softer. The one drawback to not blind baking is that it can lead to an almost soggy crust.
Preparing the filling
There is no special equipment needed to make pumpkin pie with fresh pumpkin once you have the puree made. You will need a whisk and a bowl. It’s best to manually stir with a whisk and not with a hand or stand mixer.
Slowly stir in the evaporated milk
Ok, that is big because it is important! With a spoon or carefully with the whisk you want to stir the milk in last. I gently move the spoon (or whisk) back and forth, do not stir fast. This will not ruin it, but you will have froth and a discoloration on the top of your pie like in the picture below (still edible and delicious tho.) Yes I have had this happen a few times but we enjoy it just the same.
The can of evaporated milk says to shake well. One way to reduce the amount of froth you get is to shake well and pour into a measuring cup or prep bowl to rest for a few minutes before adding. I haven’t tried the milk without shaking, but I believe the shaking is to mix together anything that settles to the bottom of the can.
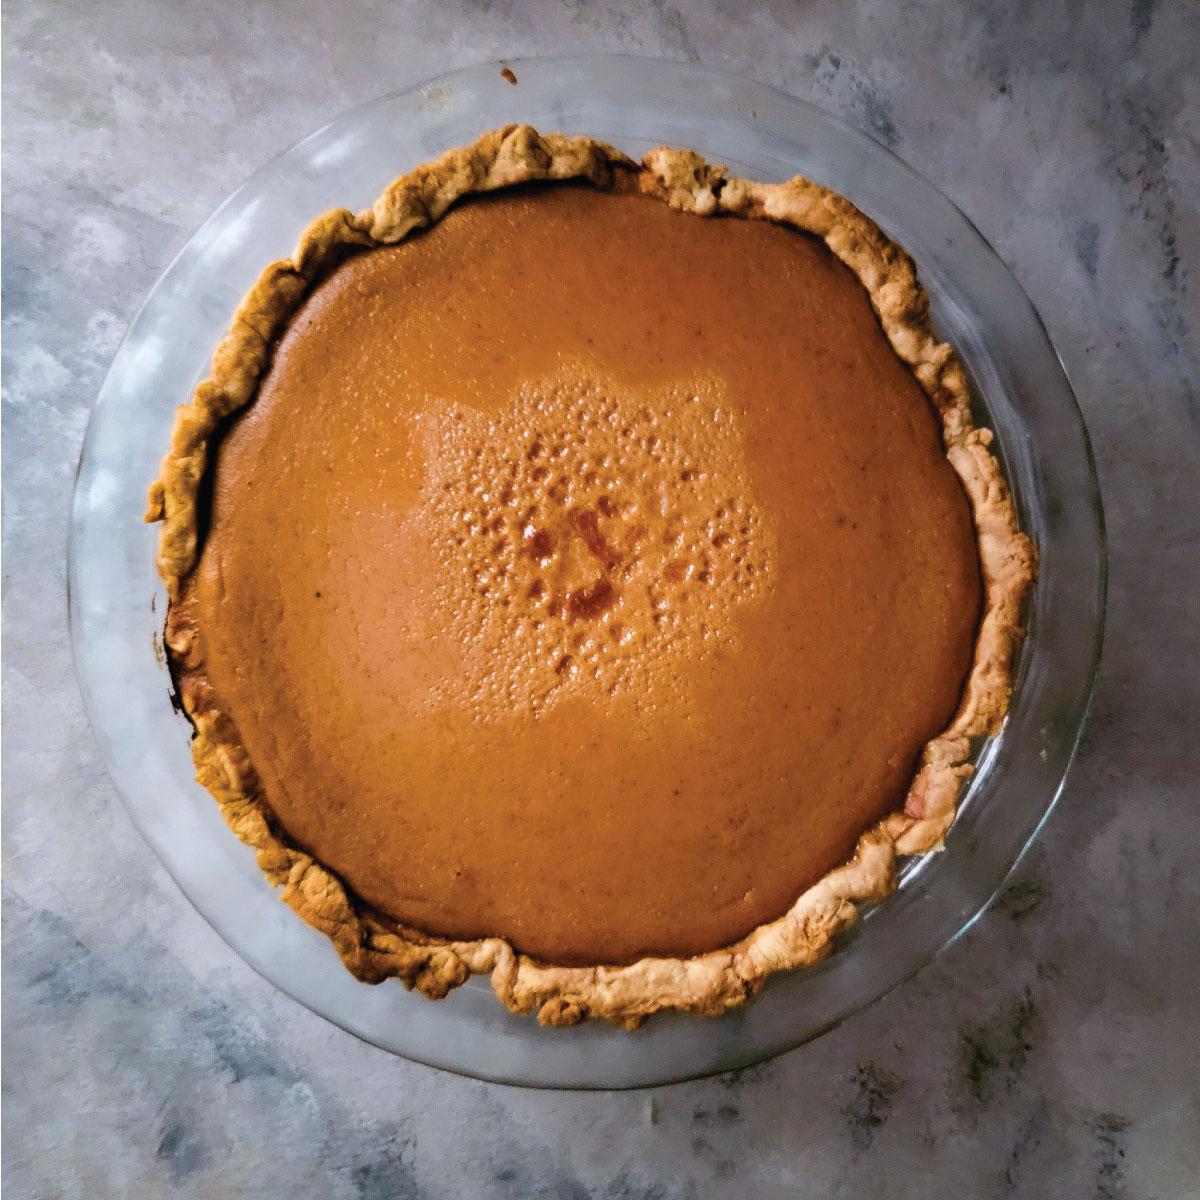
You will know that you will have this if there is bubbles in the pie mixture.
Whipped cream hides perfections!
If your pie turns out with the above mentioned froth discoloration, fear not! It is still good and honestly shows that it is homemade but if you need to cover it up, that is the good spot to put the whipped cream. Works like a charm.
How to know pumpkin pie is done
I don’t use a knife to test it because that can cause it to crack (tho you can always cover that with whipped cream like I mentioned above), but you can use a toothpick or the jiggle test. I love the jiggle test best, not just because it sounds funny but I don’t have to poke a hole in my pie.
When to check on the pie.
If using any crust other then graham cracker, you might want to check to make sure the edges of your crust are not browning too fast about 30 minutes into the cooking time. If they are, you can cover it with a pie crust shield (worth it if you will be baking pies) or you can loosely cover the edges with foil.
How to check for doneness. It will start to get darker on the edges and darker then when you put it in the oven. You will also notice that it is puffed up a bit – no worries it will settle down upon cooling. Check it after reducing the temperature to 350 and cooking for 40 minutes.
If you notice a bit of a color change and it is puffed up, either insert a toothpick (not a knife) in the center or do the jiggle test. The toothpick should come out mostly clean, it will continue to cook as it cools.
The jiggle test is when the edges don’t move when you gently shake the pie bake and forth, but the center jiggles a little.
Allow to cool fully on a wire rack and then refrigerate. Place in fridge uncovered for about an hour before covering to cool it all the way. This prevents excess moisture from the temperature difference.
Pumpkin pie with fresh pumpkin needs to be stored in the fridge after being cooled down or it will go bad much faster.
We like to put homemade chocolate whipped cream or even pumpkin whipped cream on top of our pie, but use your favorite topping!
Frequently asked questions
Homemade pumpkin pie needs to be refrigerated, especially when using fresh pumpkin puree. It should last 4-5 days in the fridge.
You can freeze it! It does need to be baked first tho. Allow it to cool on the counter before placing in the fridge to cool all the way. You can freeze in slices or as a whole pie. Thaw slowly in the fridge. You can place in the oven for a few minutes if you need to warm it up slightly if it is still a bit cold just before serving.
The discoloration and different texture in the center is likely from froth created when stirring in the evaporated milk. You pie is still going to be edible and delicious! You can cover it up with whipped cream if you need to.
To avoid it next time, very slowly stir the milk in. Also after shaking the can of evaporated milk, pour into a bowl and allow it to sit for a few so the bubbles start to disappear before pouring it into the pie filling.
Some useful items for making pumpkin pie
As an Amazon affiliate we may earn a commission if you purchase anything through one of our links. This is at no extra cost to you. Thank you for helping us keep the recipes free!
- Mixing bowls – These are the best bowls! They do cost a little more but they are great for mixing anything because they have a layer on the outside that helps to keep the bowls from burning or freezing you when making things with cooler or hot temperatures. They also have non skid bottoms.
- Pie crust shield – This is great to have on hand if your pie crust starts to brown too quickly. It is great for all pies, not just pumpkin!
- 9.5 inch pie dish – You can choose a fancy one as well, but this is a standard glass pie dish that works for many pies and is my go to dish! It is similar to the one I have, but a little fancier. The one I have has been hard to find without buying it in a 2 pack.
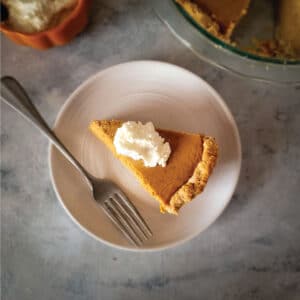
Pumpkin Pie with Fresh Pumpkin
Equipment
Ingredients
- 2 Tablespoons flour
- 2 teaspoons pumpkin pie spice
- ¾ cup brown sugar packed
- ½ teaspoon vanilla extract
- 3 eggs
- 2 cups pumpkin puree fresh
- ½ cup plain Greek yogurt or sour cream
- 12 ounces evaporated milk
- 1 pie crust for 9½ inch pie dish
Instructions
- Preheat oven to 425° F
- Prepare your crust in a 9½ inch pie dish.
- Mix flour, brown sugar and pumpkin pie spice with a whisk in a mixing bowl. Do not use any mixers (no hand or stand mixers for filling.)
- Add eggs and vanilla, mix just until incorporated with no big lumps.
- Add in the pumpkin puree and Greek yogurt. Mix until incorporated.
- Slowly pour in the evaporated milk while mixing gently. Slowly stir back and forth so you don't create a froth on top of filling.
- Carefully pour the filling into the pie crust.
- Bake uncovered for 15 minutes at 425°.Reduce temperature to 350° F and bake for another 40-50 minutes.
- Look for it to slightly change color to a darker shade and the filling to puff up on the edges. Test it by inserting a toothpick in the center, it should come out mostly clean. You can also do a jiggle test – if the inside of the pie jiggles slightly but the edges do not, it is done.
- Remove from oven and allow to cool about 2 hours on a cooling rack before placing in the fridge (or serving.) Be sure to keep in the fridge once cooled.

Love this recipe! I’m bringing it to Thanksgiving this year!
I am always looking for a good pumpkin pie recipe! I love that you used fresh pumpkin in this! It turned out great!