How to Make Bread Cubes for Stuffing
The key to the perfect stuffing is all in the cubes. Homemade bread cubes add unparalleled flavor and texture to your stuffing, putting it over the top in comparison to any store-bought variety. Plus, they are really easy to make! Add them to your homemade stuffing for a delicious side dish.
We use affiliate links on our site. This post may contain affiliate links and we may earn a commission on qualifying purchases. Please see our affiliate disclosure for more details.
Why make homemade bread cubes?
One of the best things about homemade bread cubes for stuffing is that you can control the ingredients. If you’re trying to avoid processed foods, preservatives, and chemicals, making your own bread cubes is a great way to ensure that your stuffing is all-natural.
You can also tailor the flavor of your bread cubes to match the rest of your meal. For example, if you’re serving a savory stuffing with your roast turkey, you might want to use a hearty wheat bread. Or, if you’re making a sweet stuffing, you could use a brioche or challah. The possibilities are endless!
And, of course, homemade bread cubes simply taste better than store-bought varieties. They’re fresher, more flavorful, and more satisfying. So next time you’re making stuffing, be sure to give these homemade bread cubes a try.
Ingredients
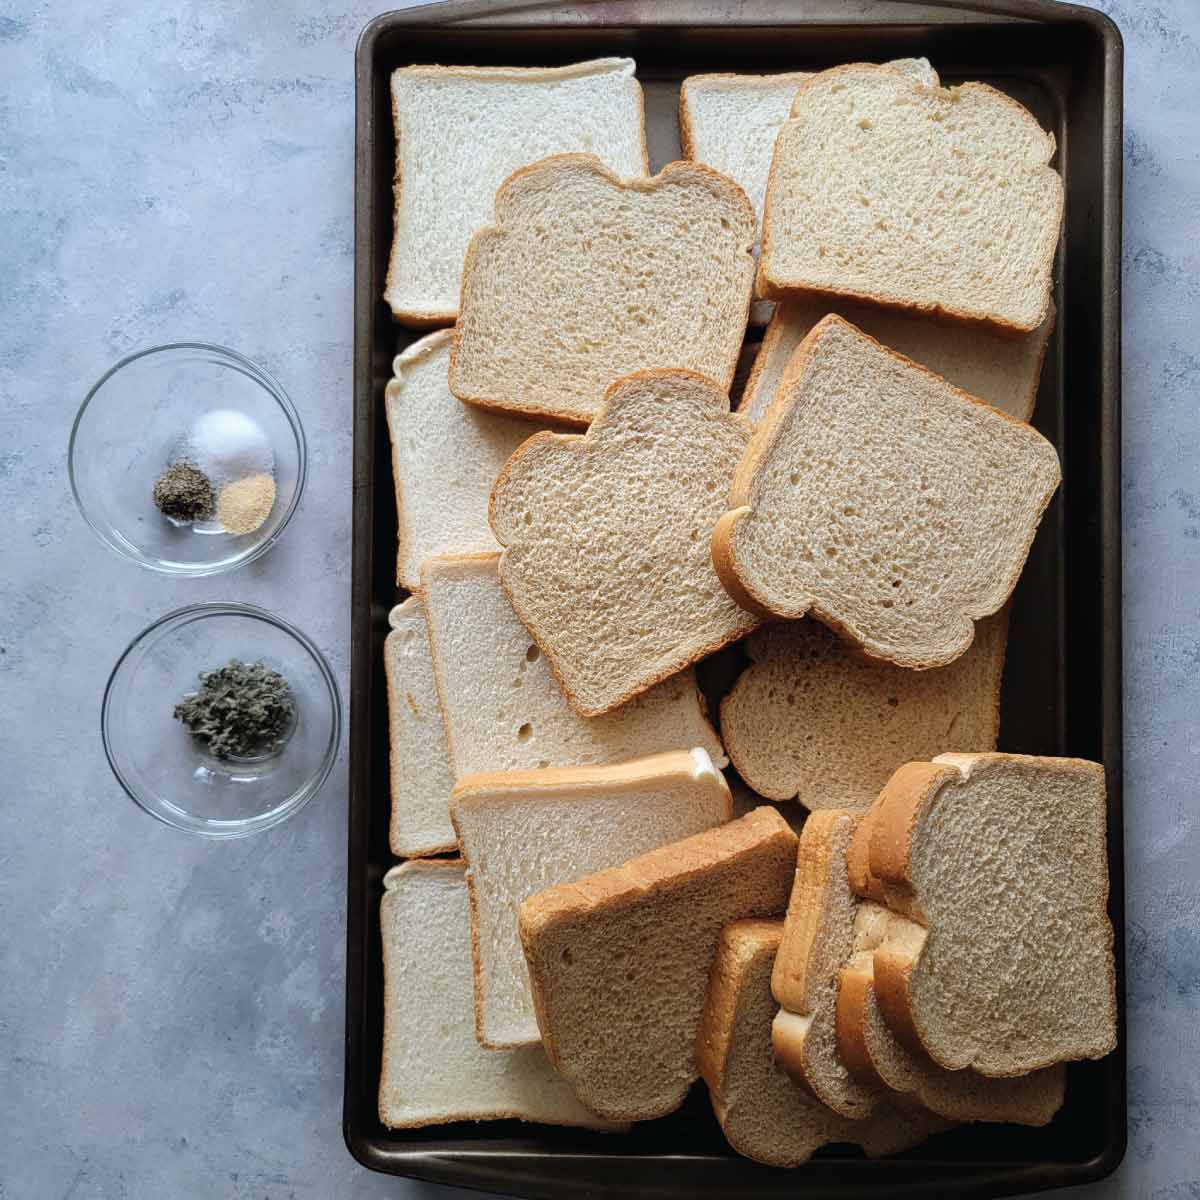
Ingredients for making the bread cubes are going to vary based on what you like but this is how we make them here and absolutely love them! You can add or change the spices around so it compliments the rest of your meal.
- Bread – You can use your favorite here, the amount will depend on how much you are making. We typically use about 20-22 pieces of bread for our stuffing, but you may want more or less.
- Salt
- Pepper
- Garlic
- Sage – dried is best so you can evenly spread it over the bread cubes.
Rosemary is really good in stuffing too or you can even add thyme. Sage is a classic and is quite often in many packaged varieties as well.
What bread do I use for stuffing?
That is the beauty of it all! When you make it homemade, you can use any bread you like. We usually use any bread that we have around that will likely go bad soon (but not moldy.) Why waste it, right?
Pictured in the ingredients above are white and wheat Great Value brand (Walmart brand.) While I am not a big fan of their bread for sandwiches (we prefer an Italian bread like Maier’s for eating), I do love to use their bread for bread cubes. Why? It is inexpensive and they do make a good stuffing!
But the bread that a lot of people love to use are sourdough and any kind of a hard bread (tho you can use store brand sandwich bread as well.) Baguettes are great for stuffing and we have even used homemade Italian bread.
We like to mix ours up and use some wheat bread and some kind of a white bread. Not only does it add a little bit of a nice color difference, it adds a nice flavor variety too.
How long do the bread cubes last?
If properly dried and cooled down, they will last around 2 weeks at room temperature. When I say properly dried, I mean that there should be no moisture left to them after baking and cooling. If you do not dry them all the way in the oven, you will likely get mold on them.
Remember that homemade they don’t have preservatives (besides what might be in the bread you used) so they won’t last for years like the store bought ones.
You can freeze them for up to 6 months, but we choose to use them withing 2 weeks and we don’t usually freeze bread.
How do I store the bread cubes?
In an air tight container. We actually use storage gallon bags for ours and we haven’t had any problems with them if used in 2 weeks. You can also use other storage containers, as long as they are air tight.
If you are storing them in the freezer, be sure to either use containers or freezer bags. Storage bags do not work as well in the freezer.
How to make the bread cubes
I did mention they were easy, right? Ok great because they are!
Take any bread that you want to use. This can be bread that is already getting stale (no mold tho) or your favorite bread that you just made or purchased.
Cut the bread into cube shapes. If using a soft bread, you will want to let the slices sit out for a few minutes first to make it easier to cut into cubes. Use a serrated knife to cut the bread neater. Doesn’t have to be perfect, but you don’t want it all squished
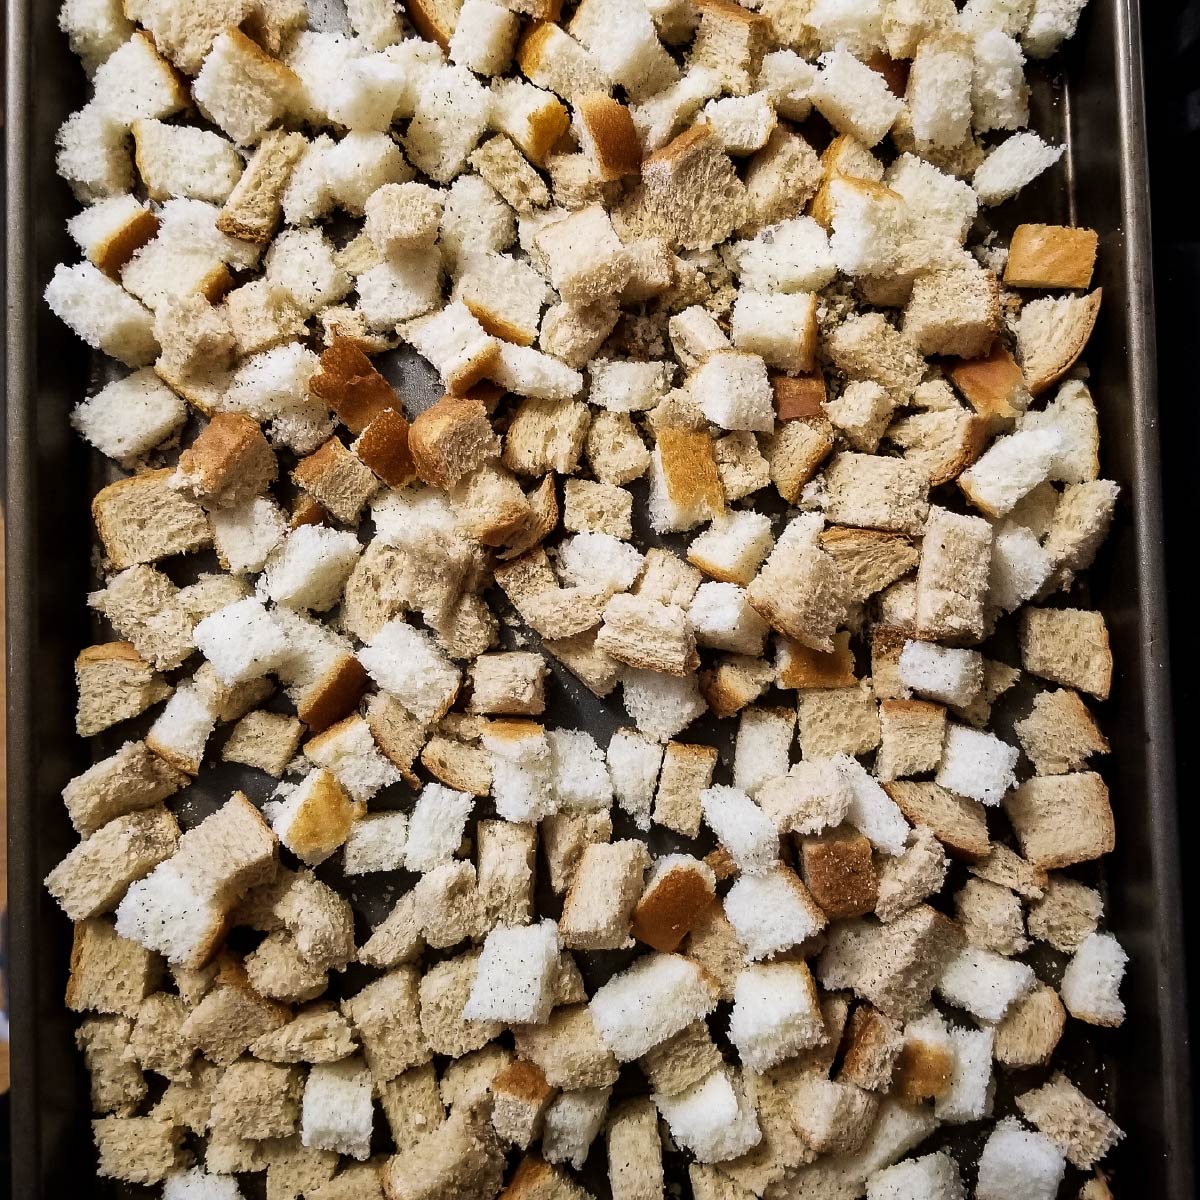
Place the cubes on a baking tray. You can use parchment paper, but you don’t have to. We did a couple times but usually we do not.
Sprinkle the cubes with some seasoning. For every baking tray of cubes we use about:
- one half a teaspoon salt
- one quarter teaspoon pepper
- one quarter teaspoon garlic powder
- one and a half teaspoon dried sage
You can use your own seasonings, this is just how we like ours. I do recommend that you at least use salt and pepper to give it some flavor.
We add rosemary but we add it when adding the broth and actually making the stuffing.
Bake the cubes at 200 degrees Fahrenheit for about an hour. Take them out of the oven and flip them around a little bit. If they still have any moisture to them, bake for another 30 minutes. You might need to bake a total of 2 hours depending on the bread and how thick the cubes are.
After the hour mark keep checking every half hour. Cool completely and store in an air tight container until you are ready to use!
Be sure to use them all within 2 weeks or place them in the freezer to store up to 6 months.