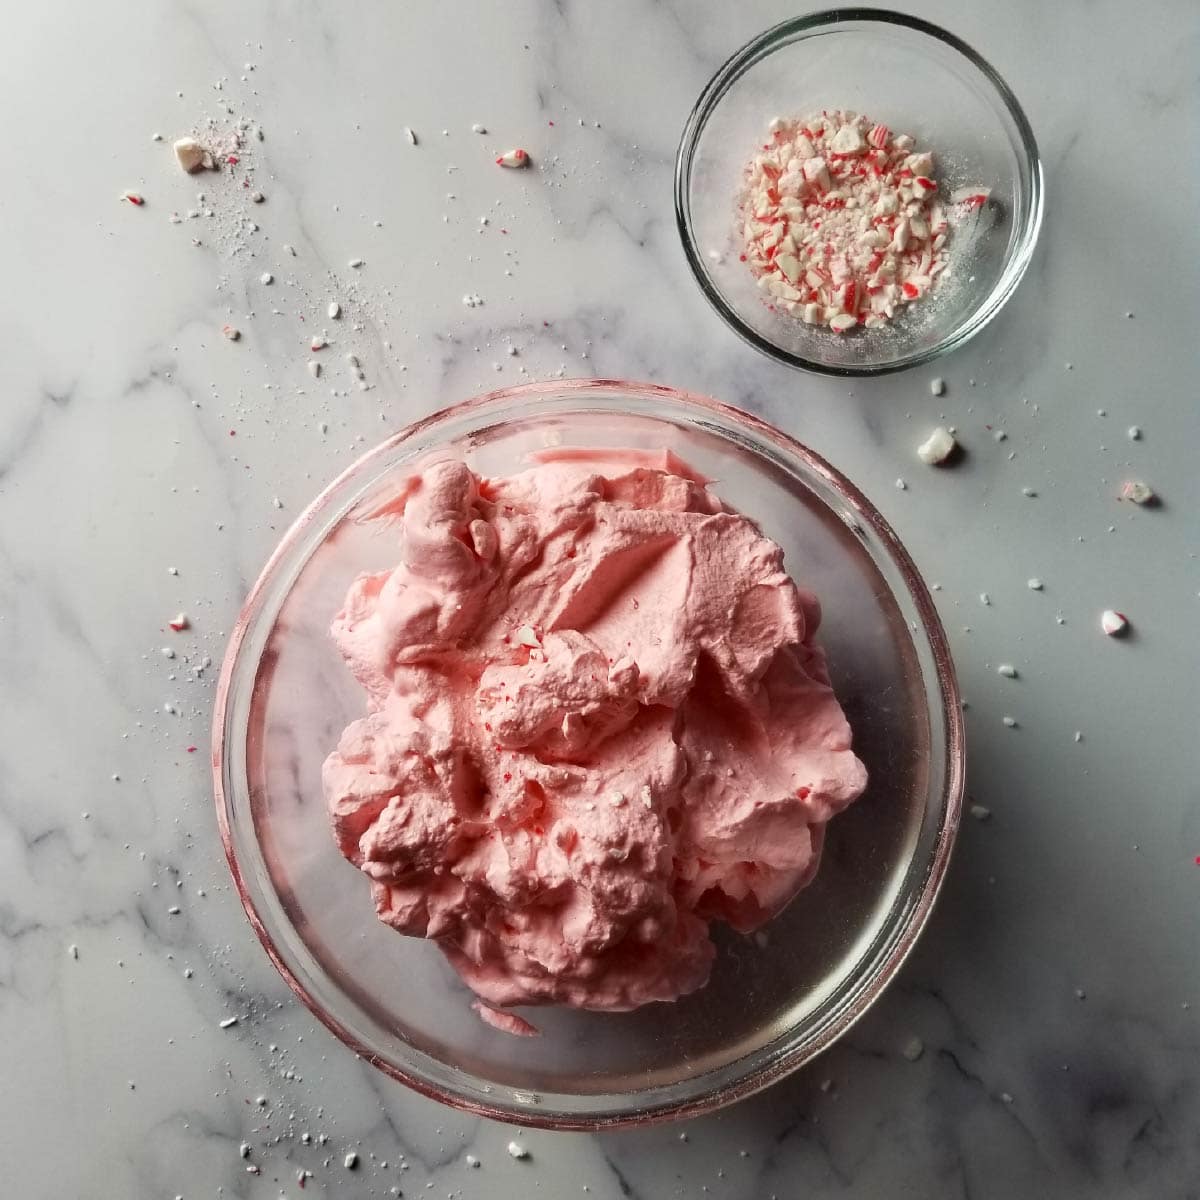
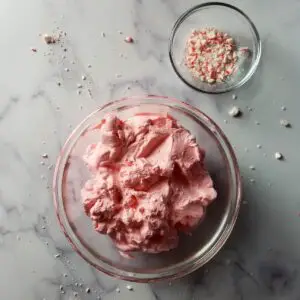
Peppermint Whipped Cream
Peppermint whipped cream is perfect for topping your favorite holiday dessert! It goes well on top of coffee and hot chocolate as well. It is easy with just 3 ingredients, 4 if you want to add red food coloring to make it pink.
With Christmas on it’s way, the family is looking forward to all the flavors! The hot chocolate, sugar cookies, peppermint cookies and so much more.
One thing they absolutely love is peppermint whipped cream. It is so easy to make and goes so well with just about any dessert for your holidays.
This is a dessert topping that goes well with almost anything! Try it on hot chocolate, coffee or your favorite dessert.
You may also love our peppermint mocha whipped cream which is amazing on coffee!
We use affiliate links on our site. This post may contain affiliate links and we may earn a commission on qualifying purchases. Please see our affiliate disclosure for more details.
Ingredients
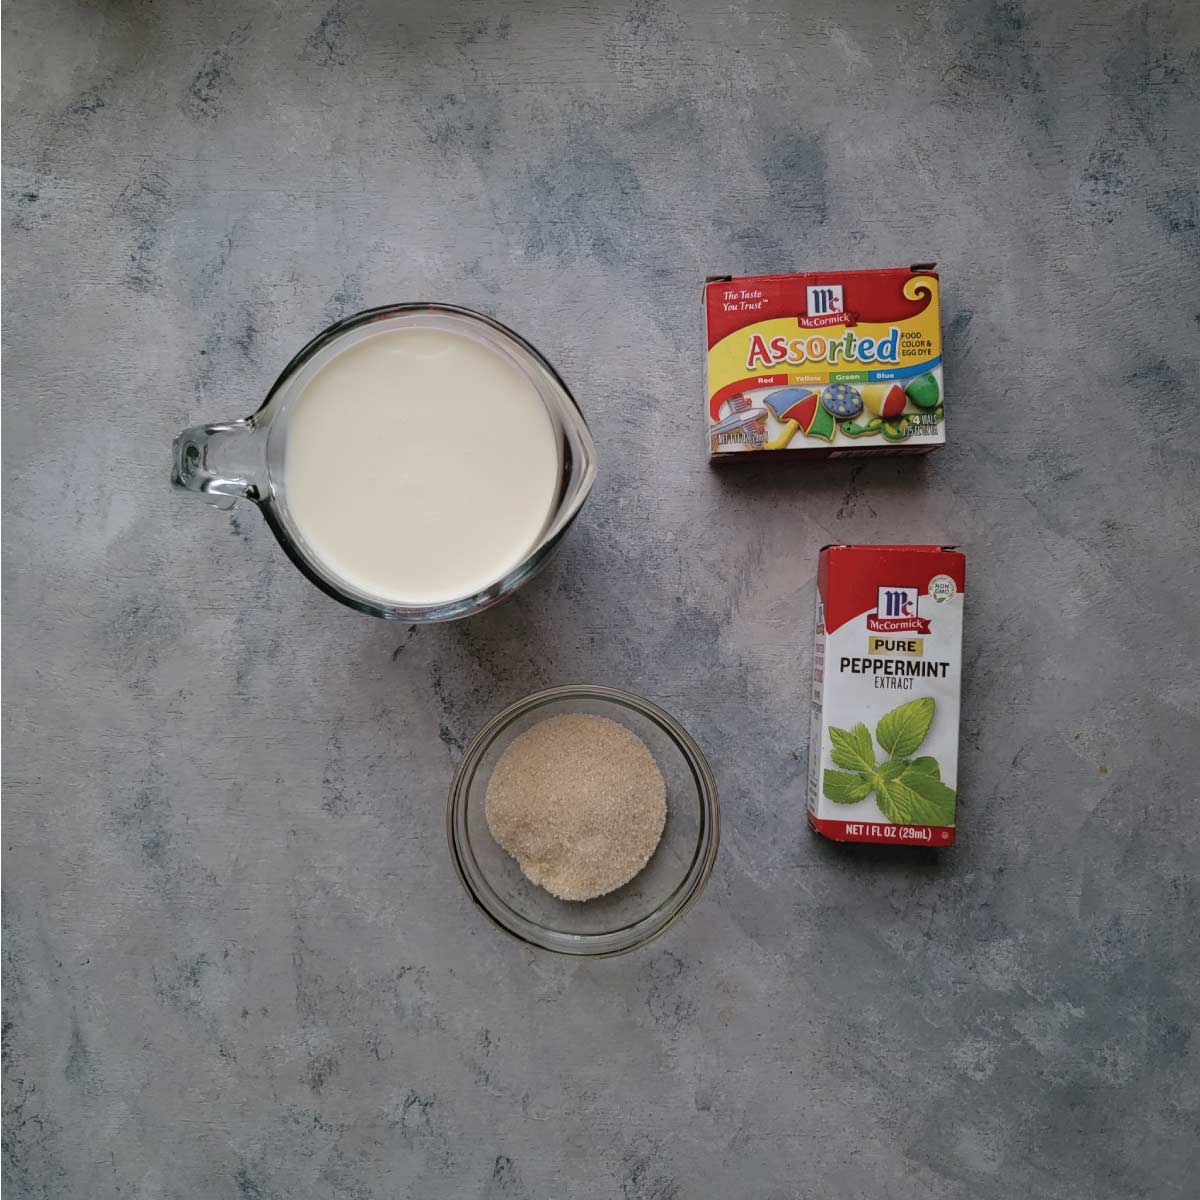
Heavy cream – No substitutions recommended.
Peppermint extract – No substitutions recommended. This is strong in peppermint flavor so if you prefer a more mild taste, decrease to half a teaspoon. We find the strong flavor adds the right amount of peppermint to the dessert or drink you are topping.
Sugar – Granulated sugar or your favorite sugar as long as the granules are not bigger then granulated sugar. We use Morena pure cane sugar here for everything which is why you see a slightly brown tint to our sugar in the picture. It is the same size and texture as granulated.
Food coloring – Optional but recommended if you want your peppermint whipped cream pink. Without food coloring, it will be white.
Tips for making peppermint whipped cream
If you have ever made homemade whipped cream, you know how easy it is and this is no exception to that. I don’t buy whipped cream anymore because homemade is just that much better and really quite easy.
The mixer
I recommend a hand mixer here instead of a stand mixer, but you can use either.
The hand mixer is preferred due to it being too easy to overwhip it in a stand mixer. A hand mixer is my go to for whipped cream.
I love my stand mixer for so many things, but I am more likely to walk away and multi task with it where a hand mixer you have to stay at the mixer.
Keep a close eye on it because there is a fine line between whipped cream and butter. That fine line doesn’t take as long to cross when using a mixer (stand or hand mixer.)
You really could use a whisk too. It is a bit more work to whisk peppermint whipped cream into the right consistency – but hey you can get a work out!
Chill
Cold heavy cream whips the best. Don’t take it out of the fridge until you are all set up to whip it.
If you are using a stainless steel bowl, you can put it in the freezer for 10 minutes or even the fridge for 30 minutes before mixing. This is optional. I have had times a bowl would not fit in my fridge or freezer and the whipped cream does still turn out ok.
If you are using a plastic bowl, don’t worry about refrigerating as the plastic will not adapt to the cold temperature.
Mixing
Remove the mixer bowl from the fridge/freezer and add all the ingredients at once.
If using a hand mixer, mix on a medium speed with the traditional beaters that come with it. Some hand mixers now come with multiple attachments and the regular beaters are best. For a stand mixer, you want to use the whisk attachment and I set it to 8.
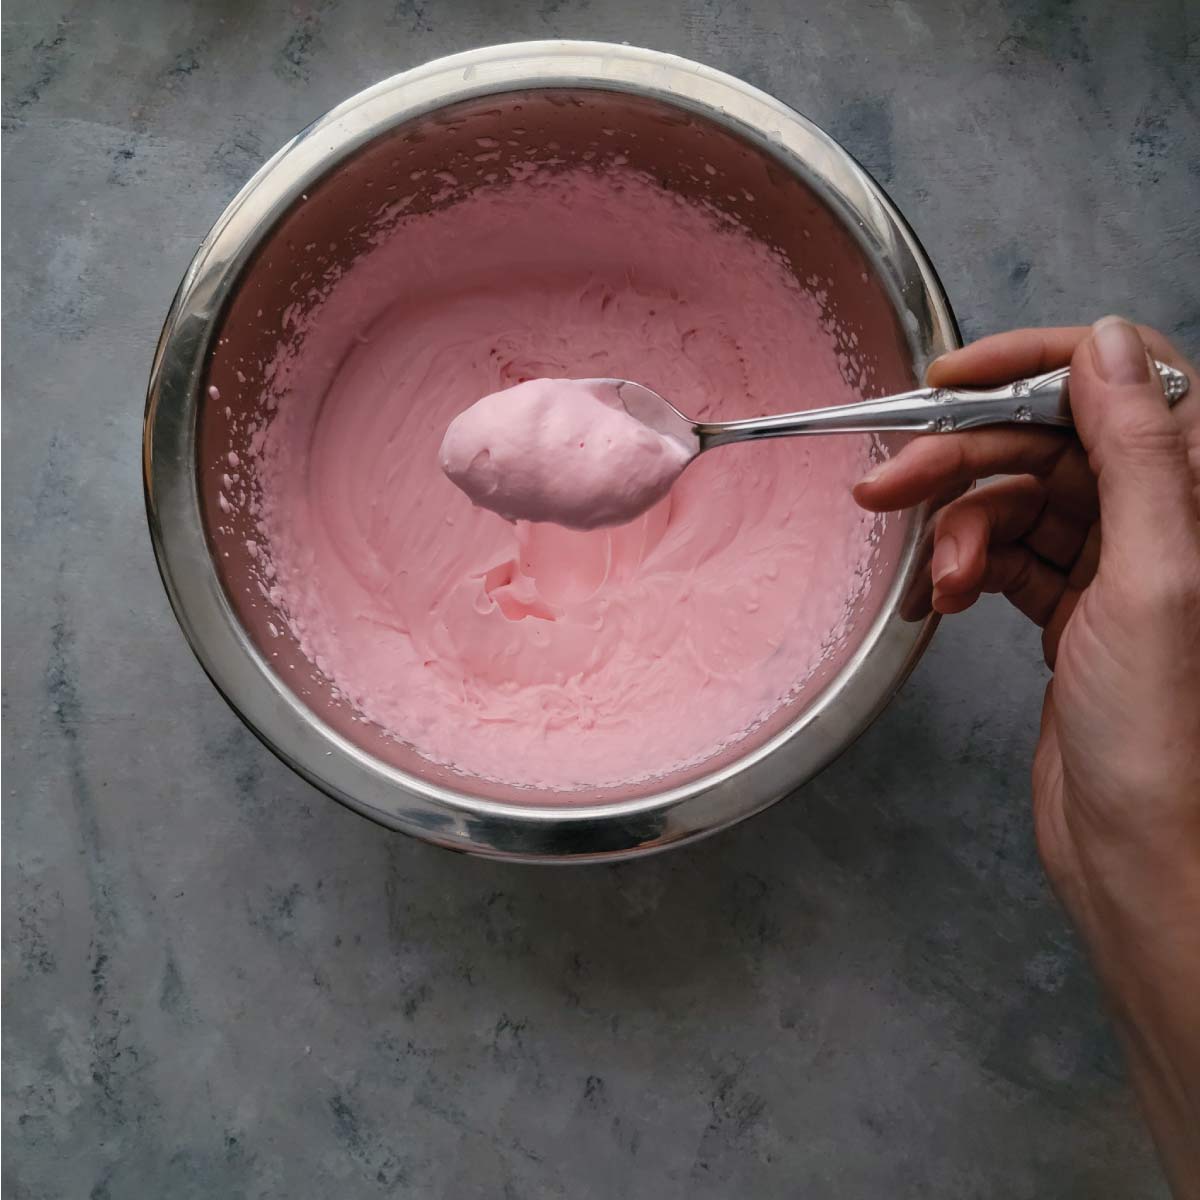
You want to mix this until soft peaks start to form or just after stiff peaks start to form – depending on the consistency you desire. Base your mixing time more on the consistency, but will likely be about 1 and a half to 2 minutes.
Soft peaks makes a nice soft texture that is silky looking and perfect for a topping. This is best for when you want a dollop on top of your dessert.
Want your peppermint whipped cream to be red or pink?
One important thing to note is that peppermint extract is clear. If you want this to be pink, you need to add some red food coloring. I added 8 drops to get the color to stand out for pictures, but the desired shade is up to you. If you want it to be more of a red color, you can use icing coloring for a more intense color.
You can add more red food coloring if you want it to be more red at any point before it is the right consistency.
Frequently asked questions
Yes you can. You want to go just a little beyond soft peaks. As soon as stiff peaks start to form, you will have a consistency that can be used in a decorating bag. It is not icing, but you can make it fancy on top of your desserts or coffee with a decorating bag.
It will last about 4 days in the fridge but the texture will change a little bit. It is still delicious and edible but not the same texture as freshly made.
You can, but I don’t recommend it. It is quick to make and the texture is best when you first make it.
Other great flavors:
Peppermint mocha whipped cream
Peppermint Whipped Cream
Equipment
- hand mixer
Ingredients
- 1 cup heavy cream whipping cream
- 2 Tablespoon sugar granulated
- 1 teaspoon peppermint extract
- 8 drops red food coloring see notes
Instructions
- Optional but recommended – Chill the mixer bowl for about 10 minutes in the fridge or the freezer. I use a stainless steel bowl for this. If using plastic, skip this step as plastic does not hold the cold temperature.
- Remove the bowl from the fridge/freezer and add all the ingredients to the bowl.1 cup heavy cream, 2 Tablespoon sugar, 1 teaspoon peppermint extract, 8 drops red food coloring
- If using a hand mixer, beat on medium speed until soft peaks start to form – about 1½-2 minutes. If you want it to have more red, add more food coloring before it is done. Soft peaks are for dessert topping, you can mix it a little longer (about 15 seconds) if you are using it in a decorating bag to make it fancier. See notes
- If using a stand mixer – Using the whisk attachment, mix on 8 for about 1½ to 2 minutes until peaks start to form – keeping a close eye on it. And about 10-15 seconds longer if you prefer a firmer texture (for decorating in pastry bag.) See notes.
- Refrigerate any leftovers and they should last about a 4 days in the fridge but the texture may change slightly.


Thank you for sharing at #ThursdayFavoriteThings. Pinned and shared. Have a lovely week. I hope to see you at next week’s party too! Happy Holiday!
Thank you and yes I will be there 🙂 Have a great week!