Easy Garlic Cheese Biscuits
These garlic cheese biscuits are quick and easy to make! They use just a few simple ingredients, no boxed mixes. They can be ready to serve from start to finish in less then 20 minutes.
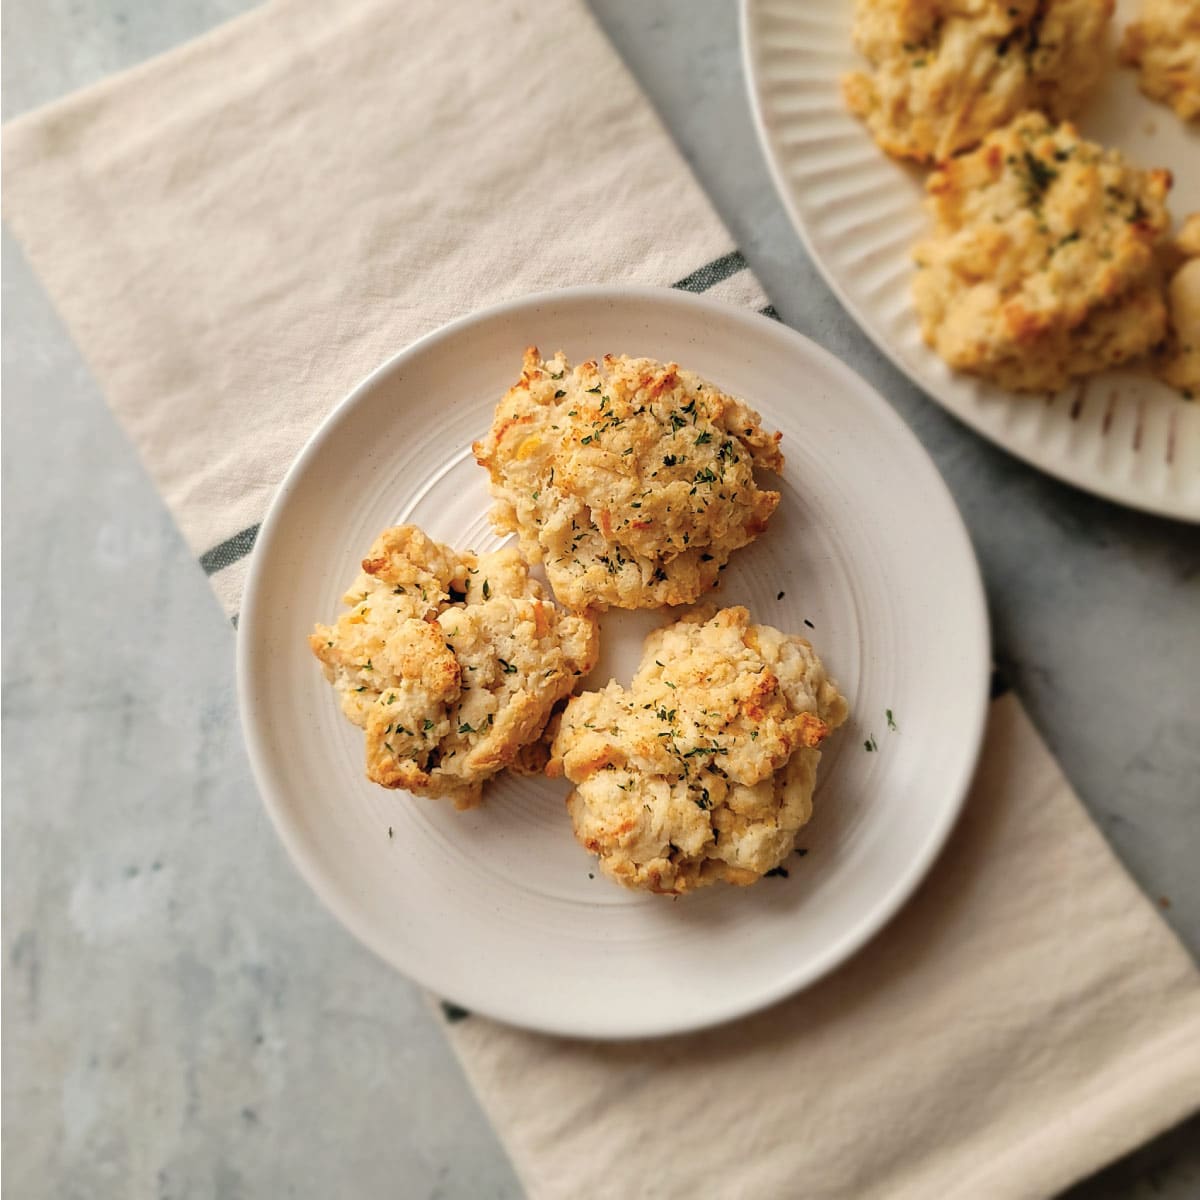
These are perfect for times you want a biscuit or a roll but don’t have time to make rolls! They are quick to make and always a treat.
Sometimes we make them as a quick snack, they make a perfect after school snack for the kids too. Most often we make them with soups like stuffed pepper soup or even with chili.
I love them because they are so easy to put together, especially when I lose track of time and don’t have time to make the rolls – happens more often then I like to admit!
We use affiliate links on our site. This post may contain affiliate links and we may earn a commission on qualifying purchases. Please see our affiliate disclosure for more details.
Ingredients
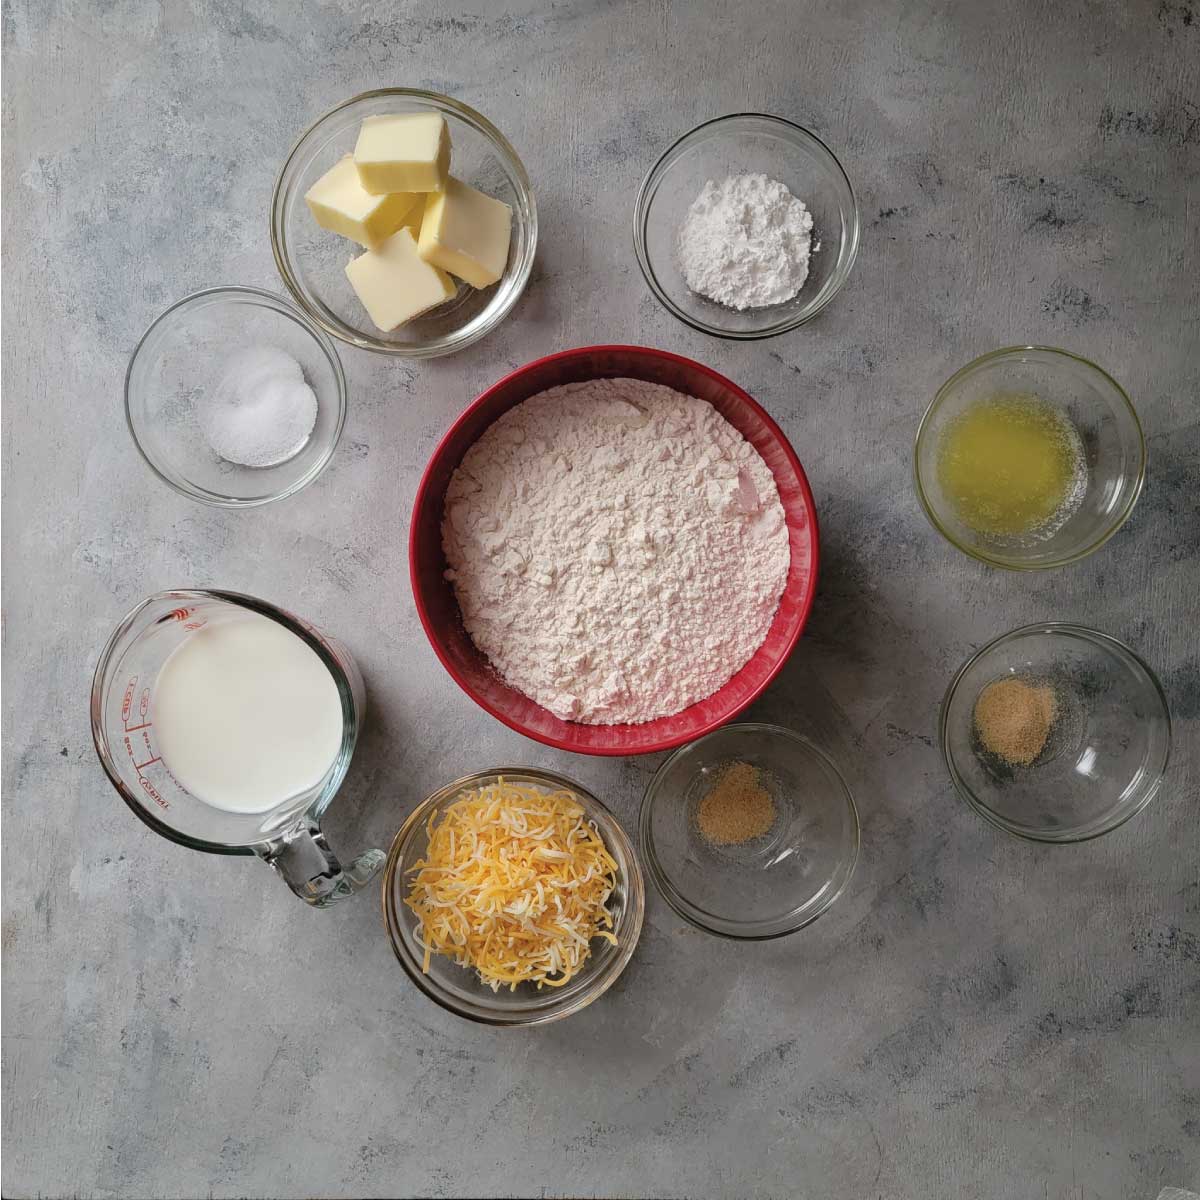
We keep the ingredients for our garlic cheese biscuits simple!
Flour – We use all purpose flour for the biscuits.
Milk – Whole milk is what we use, but you can use a lower fat milk in it’s place.
Salt – Table salt is best or finely ground sea salt.
Cold butter – For the dough we use unsalted butter cut into chunks or thin slices. Do not warm up, needs to be cold going into the dry ingredients.
Baking powder – No substitutions.
Cheese – I recommend using a cheddar cheese mixture or just cheddar cheese for the best flavor. You can change it up if you prefer a different cheese.
Garlic powder – Divided – some goes in the dough and some on top with melted butter. You need to use powder here. Fresh garlic won’t mix through well.
Melted butter – We use salted for the butter topping. If you use unsalted, sprinkle a couple dashes of salt to add a little more flavor to the topping.
How do you make quick biscuits from scratch?
Garlic cheese biscuits are really easy to throw together!
Mixing the dough
I like to cut the butter first – either thin slices or cube it. Place it in the fridge until you are ready for it so it stays cold.
In a mixing bowl combine the dry ingredients and stir well. The garlic powder is divided, only add the half teaspoon to the bowl. The remaining is for the topping.
Using a dough blender or 2 forks, cut in the cold butter. It should be mixed until it is blended together mostly and the largest pieces of butter are small pea sized. You want some of the butter to remain pea sized pieces for the best flavor and texture.
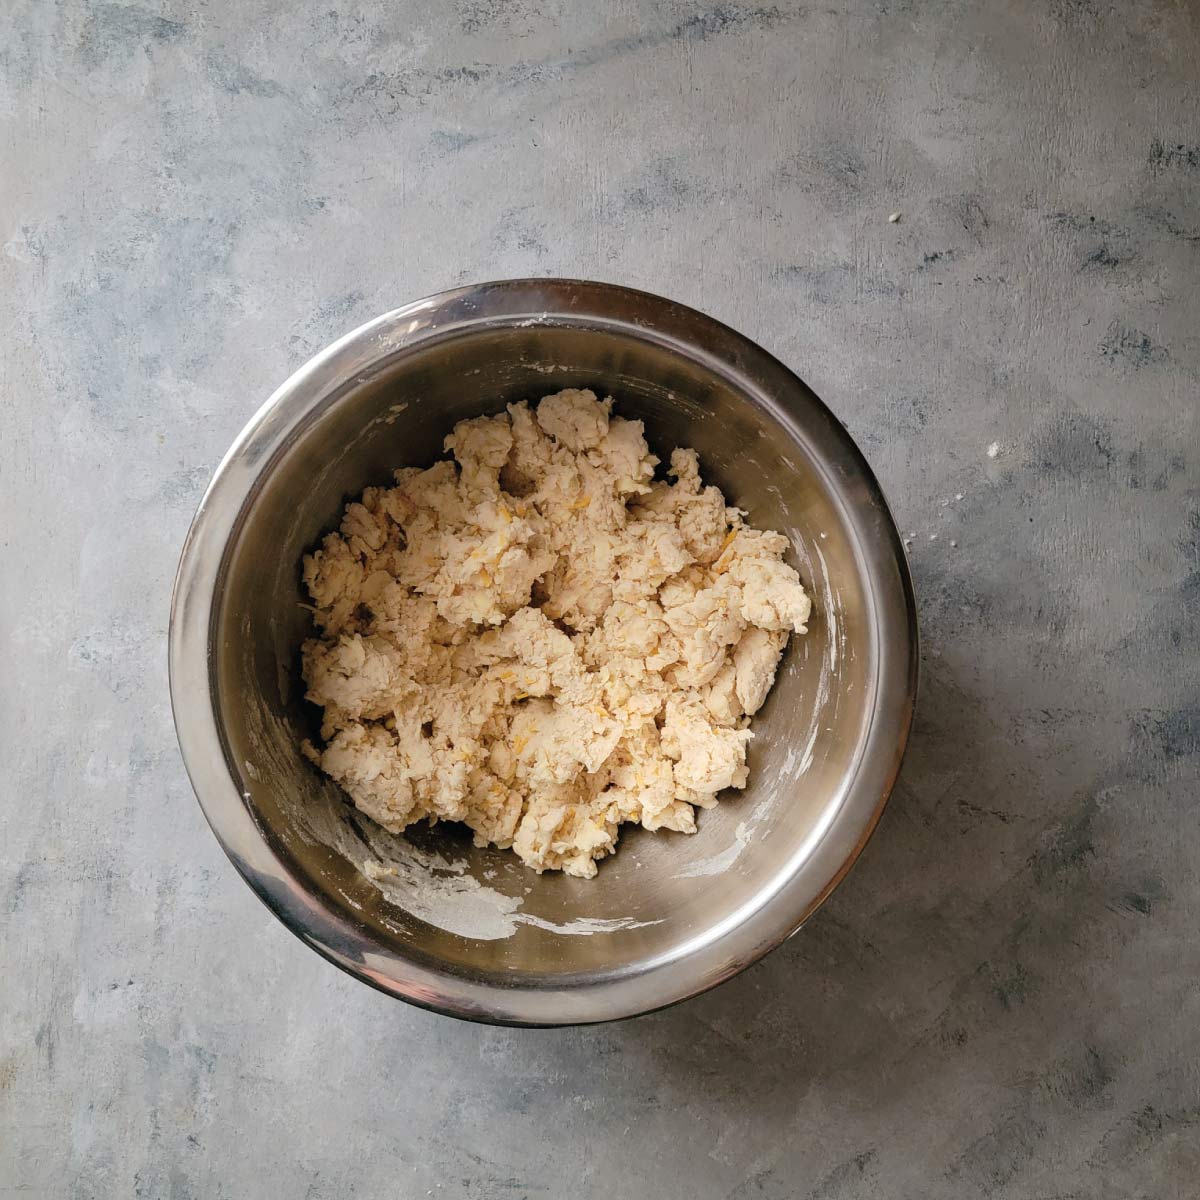
Stir in the shredded cheese and then the cold milk. Once you stir the milk in, the dough should just come together but not be too wet. If there is still flour that won’t mix into the dough because it is too dry, add milk 1 tablespoon at a time until it is just mixed together and no loose flour.
In the picture above you will see that it is slightly dry looking and clumps. You don’t want too much moisture.
Shaping and baking
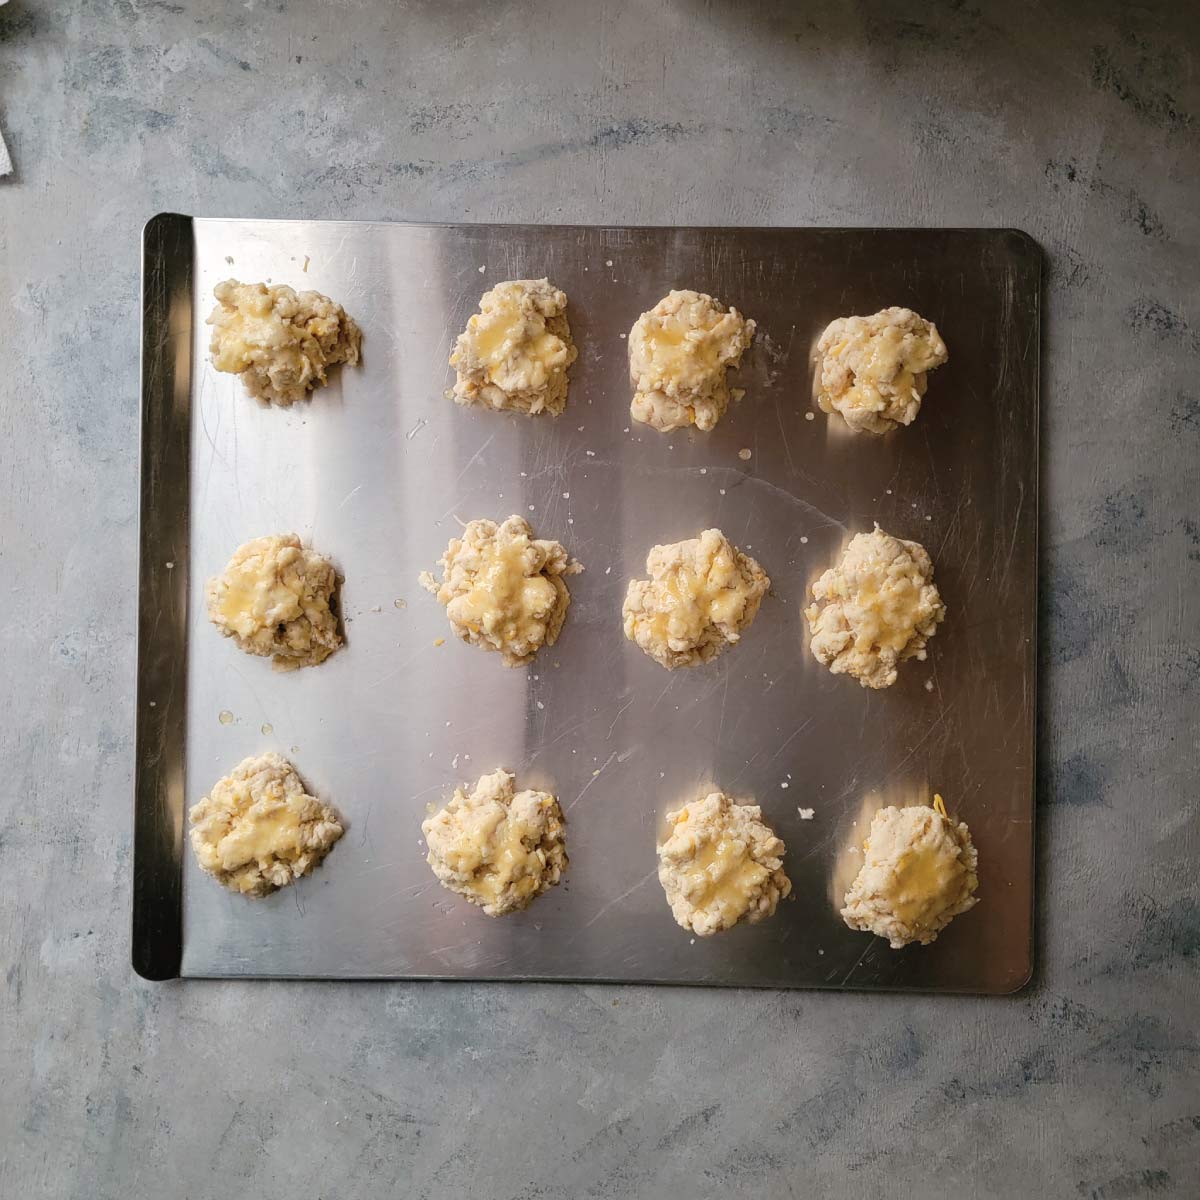
I keep shaping the garlic cheese biscuits simple and just spoon it out into 12 rounded clumps.
Air bake baking sheets are one of my favorites for making these, but you can use your favorite baking sheet. If you use silicone baking mats, be sure they can go into the oven at a temperature of 450 degrees Fahrenheit.
Mix together the remaining garlic powder and melted butter in a small prep bowl.
Using a basting brush, lightly brush the butter and garlic mix over the biscuits. I dab it onto the biscuits more then brushing.
Place them in a preheated oven and bake at 450 F for 7-10 minutes. They will start to get a golden color and a little bit of a browning on top in spots.
We garnish with parsley as soon as they come out of the oven, but that is optional.
Garlic cheese biscuits cook best at higher temperatures. Preheat your oven for at least 20 minutes before baking. Our oven is new and beeps when it reaches temperature, but when checking the temperature with an oven thermometer I have found it to be about 15-20 degrees lower when it beeps.
What do you serve the garlic cheese biscuits with?
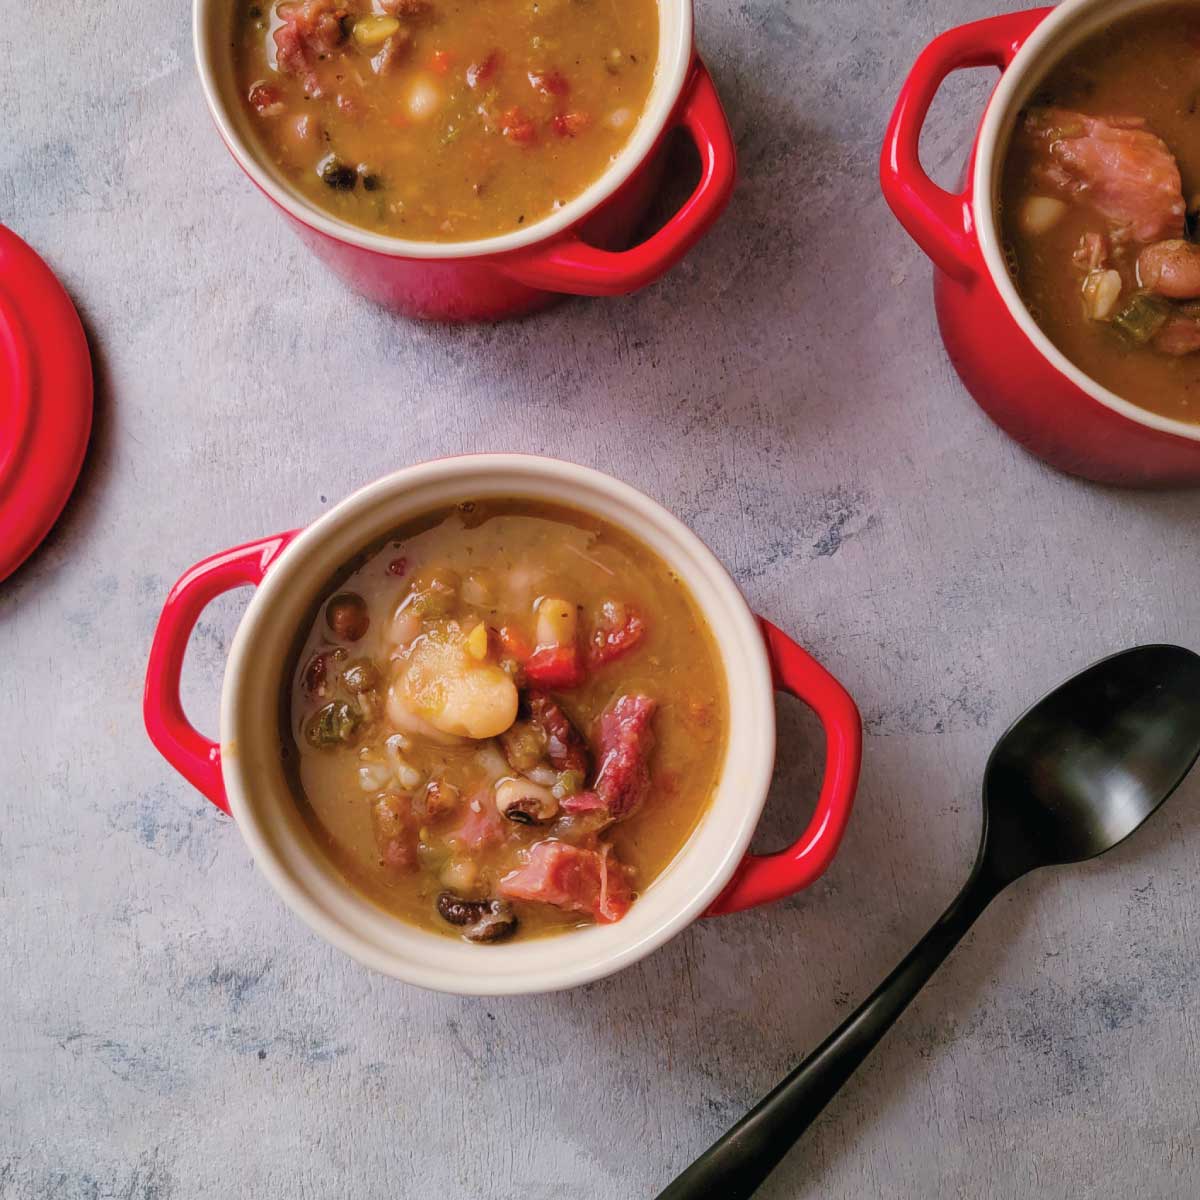
We sometimes make these as a snack, but they go perfect with just about anything! They are easy and quick so they compliment any meal you want to serve them with. Here are a few that we enjoy them with:
Frequently asked questions
Yes you can use shortening in place of butter. We have used refined coconut oil (as a soft solid not liquid form) and they turned out great too, but we prefer the texture and flavor with the butter.
At room temperature they should last up to 3 days, tho they might get eaten before then! Be sure they are cooled all the way before covering or placing in a storage bag.
You can freeze the dough before baking. Be sure to shape them into the 12 biscuits before freezing. Thaw in the fridge and then bring to room temperature before baking.
Yes and we often add more garlic, but we are garlic fanatics! This recipe was written with an amount that will not overpower for people who like garlic but don’t want it overpowering.
Useful items for making the biscuits
Making the garlic cheese biscuits does not require any special equipment, but these are items that are useful in making them.
As an Amazon affiliate, we may earn a commission if you make a purchase through one of our links. This is at no extra cost to you and helps to keep the recipes free!
- Dough blender – Not required and you can use 2 forks, but a dough blender definitely makes it easier when making any kind of biscuits and even certain pie crusts. It is not expensive and a great kitchen tool to have.
- Baking sheets – I love air bake baking sheets for all of our baking. They are durable and are not very expensive.
- Basting brush – I prefer the silicone basting brushes over the classic hair brushes. I have had the hairs fall out of my brush before and that grosses me out so I stick with silicone!
- Oven thermometer – Not required, but recommended to have on hand to be sure your oven reaches the correct temperature. Incorrect oven temperatures result in recipes not cooking properly.

Easy Garlic Cheese Biscuits
Equipment
- Dough blender (recommended)
- Baking sheet
Ingredients
Dough
- 2 cups flour
- 3 teaspoons baking powder
- ½ teaspoon salt
- ½ teaspoon garlic powder
- 5 Tablespoons unsalted butter cold
- 1 cup shredded cheese cheddar is recommended
- 2/3 cup milk
Topping
- 1 Tablespoon butter salted, melted
- ¼ teaspoon garlic powder see notes
- salt couple dashes IF using unsalted butter
- dried parsley optional for garnish
Instructions
- Preheat oven to 450°
- In a mixing bowl mix together the flour, baking powder, salt and garlic powder
- Cut the cold butter into chunks and add to the flour mix. Using a dough blender (recommended) or 2 forks, mix the butter in until the biggest pieces of butter are small pea sized and most of the butter is mixed in. Some small pea sized pieces are good.
- Add in the cheese and stir just enough for the cheese to be evenly spread throughout mix.
- Pour in the milk and stir well with a fork until it just comes together. You should be able to shape the dough but not have it too wet. If it is too dry for all the flour to mix in, add more milk a tablespoon at a time until it is all incorporated into the dough.
- Spoon onto a baking sheet in 12 even amounts – I like to make them into imperfect balls just scooped out of the bowl and gently packed together in my hand.
- Mix the garlic powder and melted butter for topping together. Using a basting brush, gently brush the butter mix on top of each biscuit.
- Bake at 450°F for 7-10 minutes. They should be getting a golden color and the tops should be getting some darker points on top.
- Sprinkle with parsley immediately after taking out of oven if you choose – it gives it a nice look and is optional.
- Serve as a snack or a side to go with dinner.
Notes
Nutrition
For step by step pictures – the best cheesy garlic biscuits.

This looks really good! Biscuits are harder to find in Canada and some restaurants make them. Homemade is always the best option though! I can’t wait to try this 🙂
Homemade is always a great option 🙂 They are pretty flexible too, you can put different spices on them if you want. We love garlic so we use garlic for them – enjoy!